
How to Establish Connectivity with Solace Pubsub+ Platform in Boomi
HOW TO ESTABLISH CONNECTIVITY WITH THE SOLACE PUBSUB+ PLATFORM IN BOOMI
In this blog, we will see how to establish Connectivity with Solace in Boomi.
What is Solace and Solace Connector?
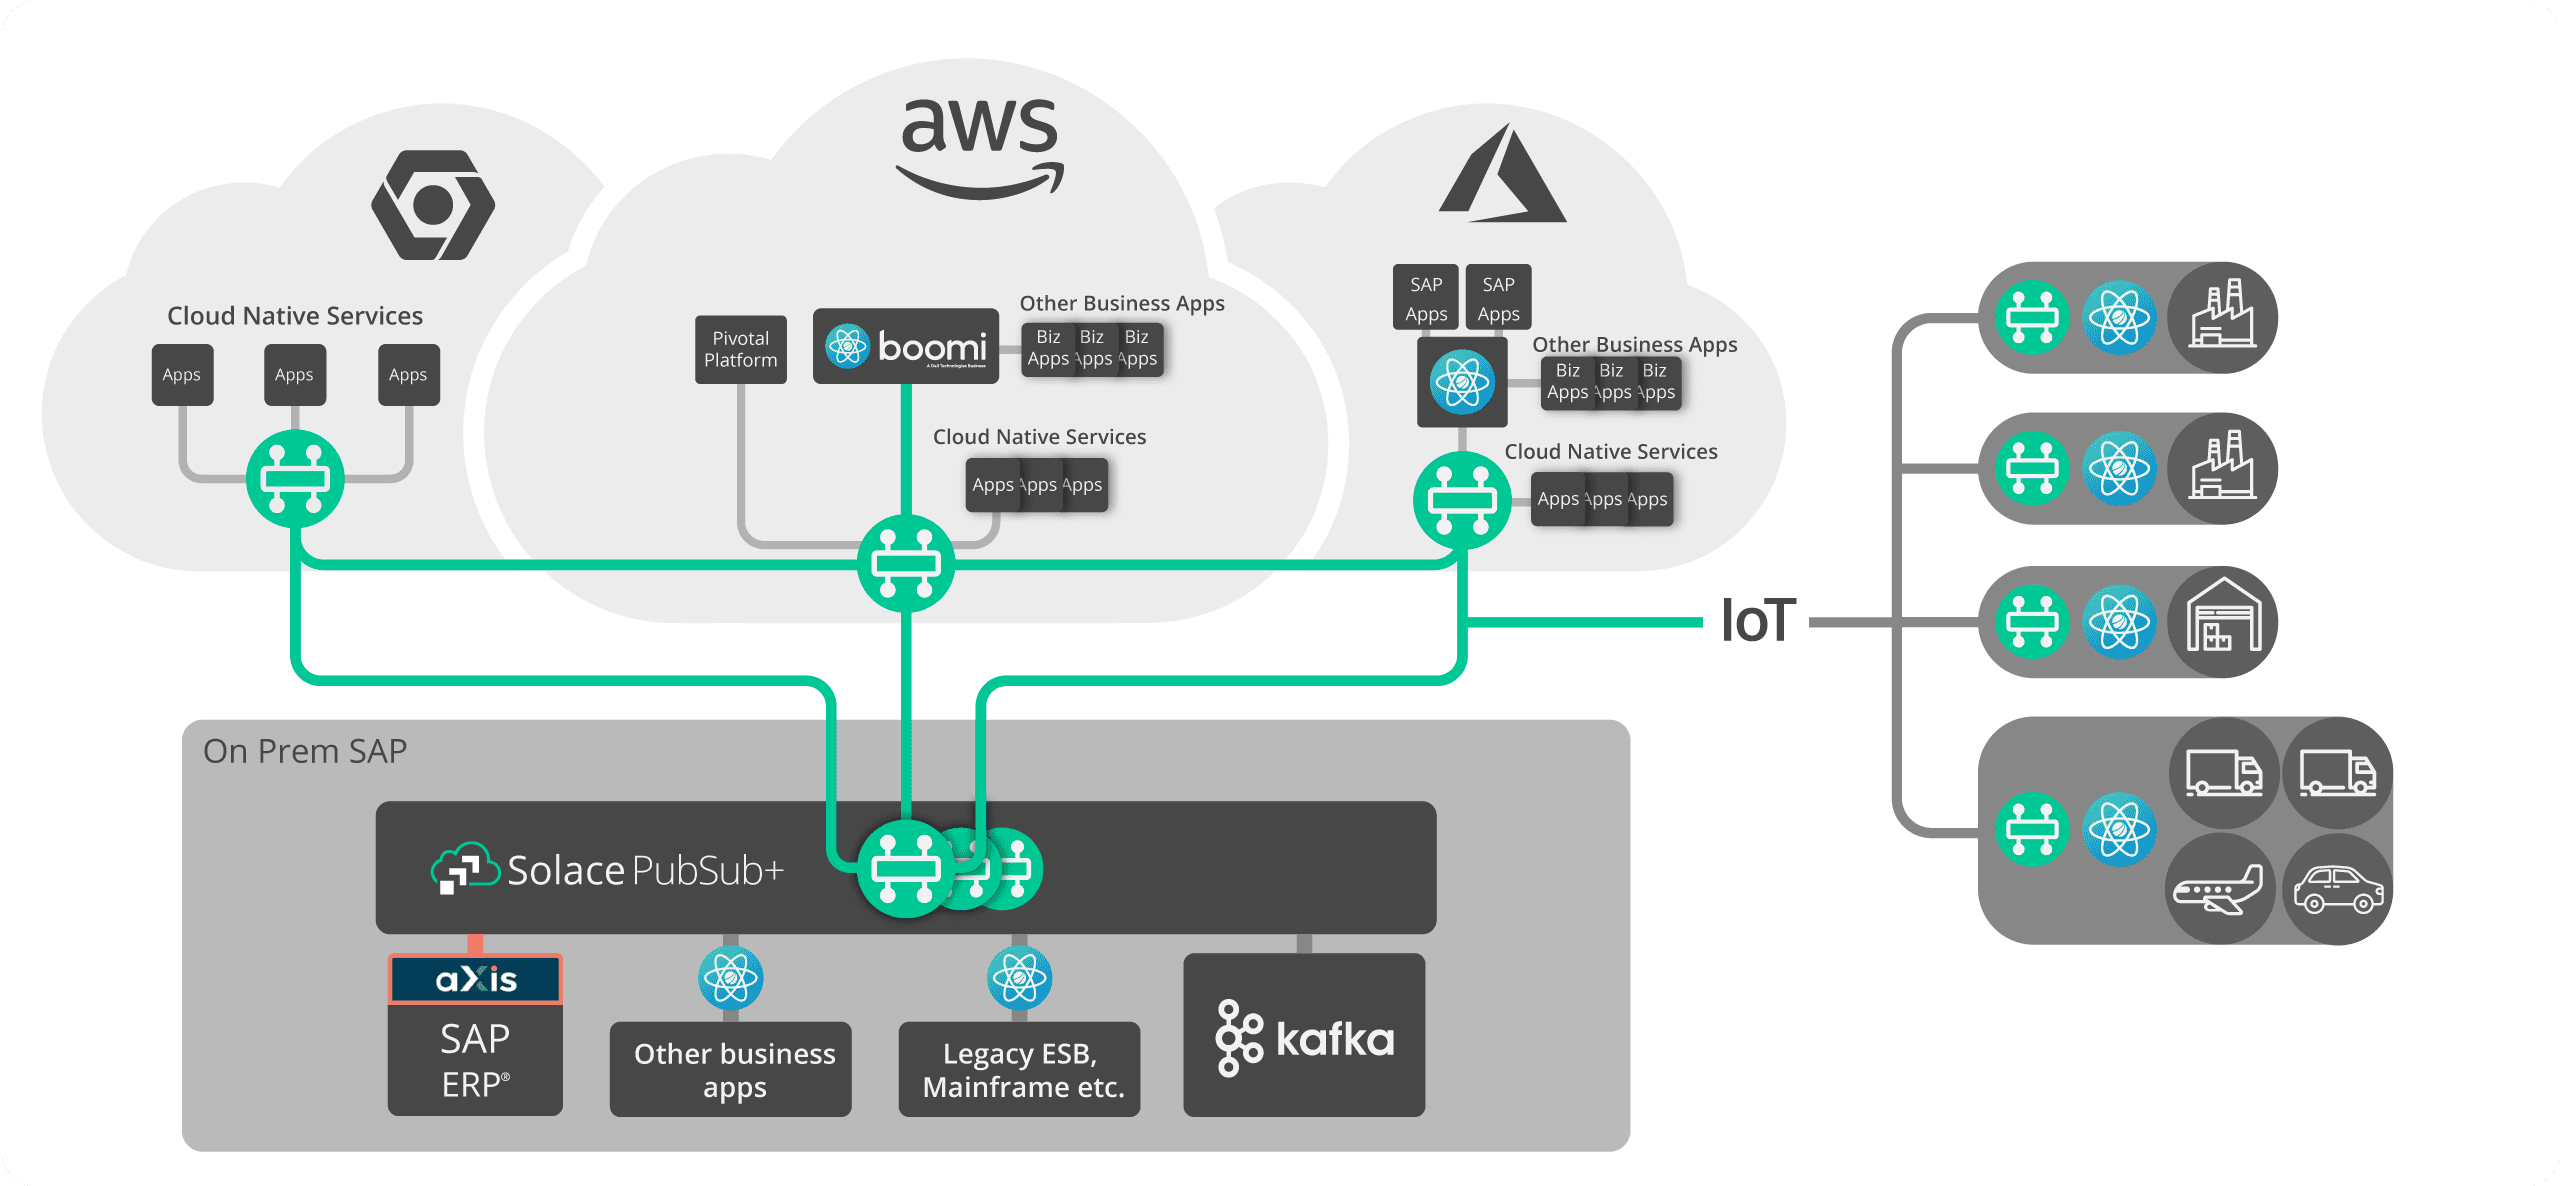
Solace is a queue used to achieve throttling and reliability. We have an OOTB connector in Boomi to connect with the solace which is Solace PubSub+ – Partner connector.
Solace PubSub+ – Partner connector makes it easy to implement asynchronous, event-driven integrations leveraging Solace’s event streaming and management platform through Boomi Integration.
Steps to establish connectivity with SOLACE.
Step 1:
- Signup for Solace using the below URL https://console.solace.cloud/login

- For signing up give respective credentials

Step 2:
Once we login to solace we need to create a service,For that select Cluster Manager

Step 3:
Click on + to create new Service

Step 4:
Fill out all the details for your messaging service, and then click “start service” at the bottom of the page


Step 5:
Log on to Boomi platform (https://platform.boomi.com/) with required credentials i.e.
Email Address and Password.

Step 6:
Once logged into Boomi platform, we will be able to view Home page.

Step 7:
Now, click on Services followed by Integration. We will see the Build page. Click on New.


Step 8:
Once, clicked on New, we will be able to see three fields i.e. Type, Component Name and Folder.

• Select Type as process as we are building a process. Component Name and Folder can be given
based on your choice (i.e which name to be given and where do we want to create the process).
Click on create.
Step 9:
We see that the process gets created with a start shape which is configured with AS2 Shared
Server by default.

Step 10:
Select the start shape and choose No Data. Click ok.


Step 11:
Drag Solace PubSub+ Platform-Partner Connector onto process canvas and configure Action, Connection.

Step 12:
Select action to send and click + to configure the connection

Step 13:
Now,for connection details goto Solace PubSub page and select the service(Test Service) which we have created in step:4.

Step 14:
Next select connect tab.

Step 15:
Select Solace messaging and copy the connection details

Step 16:
Configure the values for Username,Password,MessageVPN,SMF Host

Step 17:
Now, for API Token goto Solace PubSub page and select User and Account

Step 18: Select Token Management from the drop down and click on create token button.


Step 19:
Enter the name for Token Name,Select one permission and click on Generate Token.Copy the generated Token


Step 20:Enter the generated token value and Click on Save

Step 21:Click on Test Connection and Select the atom

Step 22: Now Connection got established with SolacePubSub Platform
